
How to Make Homemade Doughnuts is more than just a recipe—it’s a journey into nostalgic comfort and creative indulgence.—whether it’s a soft, glazed ring or a rich, jam-filled pastry. Whether it’s a soft, glazed ring or a rich, jam-filled pastry, these treats are more than just a breakfast staple—they’re a form of edible nostalgia. Making homemade doughnuts allows you to capture that cozy, café-style indulgence in your own kitchen, using fresh, quality ingredients and whatever toppings or fillings your heart desires. From the fluffiness of yeast-raised dough to the tender crumb of cake-style doughnuts, the creative potential is endless.

One of the joys of DIY doughnuts is how customizable they are. Prefer a zesty citrus glaze? You can draw inspiration from citrus-inspired desserts like creamsicle sugar cookies. Love a warm cinnamon sugar crunch? Recreate the flavor of churro cheesecake in ring form. If you’re leaning toward healthier spins or planning a weekend brunch, pair your doughnuts with fruit-filled breakfast treats or serve them alongside yogurt bowls for balance.
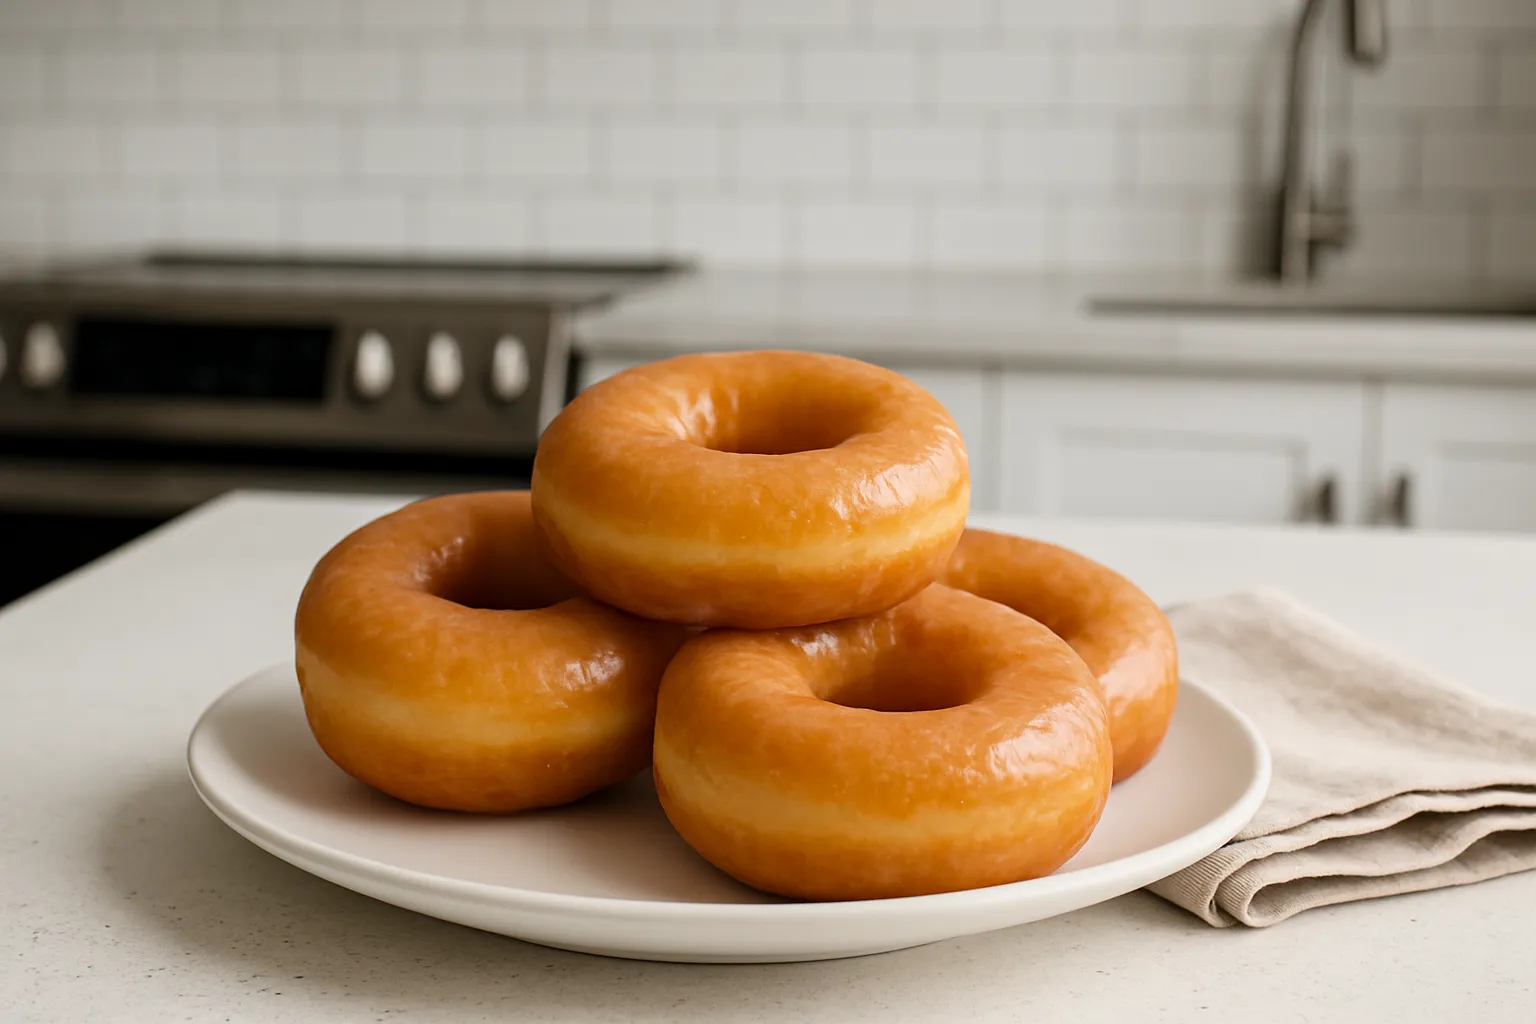
Before you jump into frying or baking, it’s worth brushing up on the basics. For instance, maintaining the proper oil temperature (typically around 375°F) is key to getting golden, crisp doughnuts without excess grease—this food safety guide is a great resource for that. If you’re a baking nerd (no shame here!), learning about the science behind dough texture can help you troubleshoot or elevate your results. Armed with the right ingredients, tools, and know-how, you’re on the path to creating doughnuts that could rival any bakery in town.
🧁 Why Make Doughnuts at Home?
There’s something nostalgic and comforting about freshly made doughnuts. At home, you get to customize everything—shape, size, toppings, fillings—and skip the preservatives. Plus, the scent of frying dough and melted sugar is pure kitchen magic.

Many home bakers are surprised by how simple it is to replicate their favorite doughnut shop treats. For added assurance, it’s wise to maintain the correct frying temperature using the safe frying temperature chart to avoid greasy or undercooked results.
Understanding the role of yeast, baking powder, and dough hydration is crucial. If you’re interested in how ingredients interact, this science of doughnut texture article from Serious Eats is a fantastic resource.
🧂 Essential Ingredients

For Yeast-Raised Doughnuts:
- All-purpose flour (or bread flour for more chew)
- Granulated sugar
- Salt
- Active dry or instant yeast
- Milk (whole or any substitute)
- Unsalted butter
- Eggs
- Vanilla extract
- Vegetable oil (for frying)
Optional Additions:
- Nutmeg or cinnamon (for a warm note)
- Zest (orange or lemon for brightness)
🍴 Tools You’ll Need

- Mixing bowls
- Stand or hand mixer with dough hook (optional)
- Dough scraper
- Rolling pin
- Doughnut cutter or two circular cutters
- Slotted spoon or spider strainer
- Deep fryer or heavy-bottomed pot
- Kitchen thermometer
- Cooling rack
- Parchment paper
🍞 Yeast Doughnuts vs Cake Doughnuts

Yeast-Raised Doughnuts
- Light, airy interior
- Require proofing (rising)
- Classic glazed doughnuts fall under this category
Cake Doughnuts
- Denser and cakier
- Leavened with baking powder
- Easier and faster to make
📝 Step-by-Step Guide to Making Yeast Doughnuts
1. Activate the Yeast
- Warm milk to about 110°F and stir in sugar and yeast
- Let sit for 5–10 minutes until foamy
2. Make the Dough
- Mix eggs, melted butter, and vanilla into the yeast mixture
- Gradually add flour and salt
- Knead for 8–10 minutes by hand or mixer
3. First Rise
- Cover and let dough rise in a warm place for 1 to 1.5 hours, until doubled
4. Shape the Doughnuts
- Roll out to ½ inch thickness
- Use a doughnut cutter to shape rings and holes
- Place on parchment and cover loosely
5. Second Rise
- Let shaped doughnuts rest for 30–45 minutes to puff
6. Fry
- Heat oil to 375°F
- Fry in batches, about 1–2 minutes per side until golden
- Drain on paper towels
🍬 Toppings and Fillings
Classic Toppings
- Powdered sugar
- Cinnamon sugar (check out this cinnamon-sugar inspired dessert)
- Chocolate glaze
- Vanilla glaze
- Maple glaze
Unique Twists
- Crushed candy or cookies
- Citrus glaze inspired by these citrus-inspired desserts
- Matcha, espresso, or peanut butter glaze
Fillings
- Jam, jelly, or preserves
- Vanilla custard or chocolate pudding
- Lemon curd or Nutella
- Use a piping bag to fill cooled doughnuts
🍩 Baked Doughnut Option
For those avoiding frying:
- Use a non-stick doughnut pan
- Pipe or spoon batter into molds
- Bake at 375°F for 10–12 minutes
- Let cool, then dip in glaze or sugar
🥣 Brunch Pairings and Serving Ideas
Homemade doughnuts are perfect for breakfast spreads. Pair them with:

- Fresh fruit (try apple or pear slices)
- A warm mug of coffee or chai
- Yogurt and granola bowls
- Brunch boards featuring fruit-filled breakfast treats
They’re also great alongside comfort food classics like fondue or hot chocolate on colder days.
❓ FAQs – People Also Ask
Q: Can I use bread flour instead of all-purpose?
A: Yes, it makes doughnuts chewier and slightly more structured.
Q: Why are my doughnuts greasy?
A: Oil may be too cool. Always fry at 375°F. Use a thermometer!
Q: Can I make dough ahead?
A: Yes. After the first rise, refrigerate overnight. Shape and fry the next day.
Q: Can I make vegan doughnuts?
A: Absolutely! Use plant milk, vegan butter, and flaxseed or chia eggs.
Q: Why did my doughnuts deflate?
A: Over-proofing or moving the dough too aggressively can cause collapse.
Q: What’s the best oil for frying?
A: Neutral oils like canola, vegetable, or peanut work best.
🔄 Storage and Reheating
- Store in airtight containers at room temperature for 1–2 days
- For cream/jam-filled doughnuts, refrigerate and consume within 48 hours
- Reheat in:
- Microwave for 10–15 seconds
- Air fryer at 300°F for 2 minutes
- Oven at 350°F for 5 minutes
🍡 Mini & Creative Doughnut Variations
- Make mini versions for parties or snack boards
- Dip one side in chocolate and top with sprinkles or nuts
- Serve alongside bite-sized bakery favorites
For seasonal flair:
- Fill with pumpkin or apple butter in fall
- Try stone fruit-filled cake ideas in summer
💡 Pro Tips for Success
- Weigh your ingredients for precision
- Use a thermometer for consistent frying
- Let dough rest properly—don’t rush the rise
- Test one doughnut before frying the whole batch
❤️ Final Thoughts
Homemade doughnuts are more than just a treat—they’re an experience. From mixing and kneading the dough to frying and decorating, you’ll enjoy every step. Whether you’re a weekend warrior baker or diving into your first yeast recipe, this guide gives you the confidence to get started.
So roll up your sleeves, dust off your rolling pin, and discover just how fun and fulfilling it is to make doughnuts at home. 🎉